Thursday, August 25, 2011

Welcome to 1995


I was helping my mom clean out a room in the house earlier today when I found a stack of continuous printer paper in a box.  WHOA FLASHBACK!  Remember all the fun things we would do with the perforated edges?  (or was it just me because I was lame like that?)

The discovery begs the question--why in the world have we saved this stack of paper for over ten years? We don't even have a printer to use it anymore.  Actually, as I type that, I have a premonition that the dead carcass of our old printer is probably hidden somewhere in the house, too.

So this is where my inability to throw anything away comes from....

Tuesday, August 23, 2011

Wedding Cupcake Craze Part 2 of 3: Cupcake Toppers

In addition to making fun cupcake wrappers, you can top your cupcakes with anything that stays glued to a toothpick.  Here, I've made flowered cupcake wrappers because I was running with my red poppy theme, but the basic topper is so simple you can make different shapes and signs to convey various themes and messages.

Cupcake Project #2: Red Poppy Toppers

Materials:

  • red and black cardstock
  • toothpicks
  • glue (Elmer's is just fine)
  • paper punches (1 large and 1 small flower)
Steps:

1. Punch flowers out of cardstock.  You will need two large red flower and one small black flower for each toothpick.


2. Glue small black flower onto the front of a large black flower.  (Maybe use less glue than I did...? =)


3. With a large dollop of glue, place a toothpick in between the two flowers and press lightly.


4.  Once the glue dries, insert toothpick into the top of your cupcake and you're done!

TIPS:
~ Be patient with the glue--let the topper lie flat until completely dry, or you risk parts of the topper shifting due to the power of gravity and wet glue
~ Be sanitary!  Since these will be inserted into edible goods, make sure your toothpicks are only handled on clean surfaces.  Consider using gloves and laying the toothpicks on separate parchment paper to dry.

So simple and fun, I can't wait to make different kinds of cupcake toppers!  Part 3 will feature an easy DIY cupcake stand with the plate that was the source of my inspiration. =)

Have fun! =)

Tuesday, August 16, 2011

Wedding Cupcake Craze Part 1 of 3: DIY Cupcake Wrappers


For some reason, this red poppy plastic plate from Target got my creative juices flowing.  I love the dramatic combination of red, black, and white, and so I've used those colors to make these cupcake-related projects (and probably went a little overboard with the theme, but you get the idea!)

Cupcake Project #1: Cupcake Wrappers
The continued popularity of cupcakes remains strong--you see specialty cupcakes stores everywhere nowadays!  They pop up in weddings in lieu of tiered wedding cakes or as wedding favors to take home.  Making your own cupcake wrappers is a simple and fun way to incorporate your wedding theme into your cupcakes and to make them look even fancier!

Materials:
- Cupcake wrapper template (Template from Offbeat Bride)
- Decorative paper/Paper doily
- Scissors/Decorative edge scissors
- Glue
- Optional: paper punches

Paper Doily Cupcake Wrapper:


Use the cupcake template to trace along the edge of a paper doily, cut it out, and glue edges together.

Decorate Edge Cupcake Wrapper:


Paper Punch Cupcake Wrappers:


* These are Martha Stewart paper punches that you can get at any general crafts store like Michael's or Joann Fabrics.


And that's all there is to it!  (Please excuse my terrible job at icing my cupcakes!)  Part 2 will feature simple cupcake toppers.

Have fun!

Friday, August 5, 2011

DIY White Vases from Recycled Bottles


I have wanted to make these vases for awhile, but couldn't figure out exactly how I wanted to do them--Al has patiently put up with my collection of glass bottles as I experimented with creating these textured white vases.  Using just spray paint and puffy paint, you can turn your old glass bottles into fun vases.


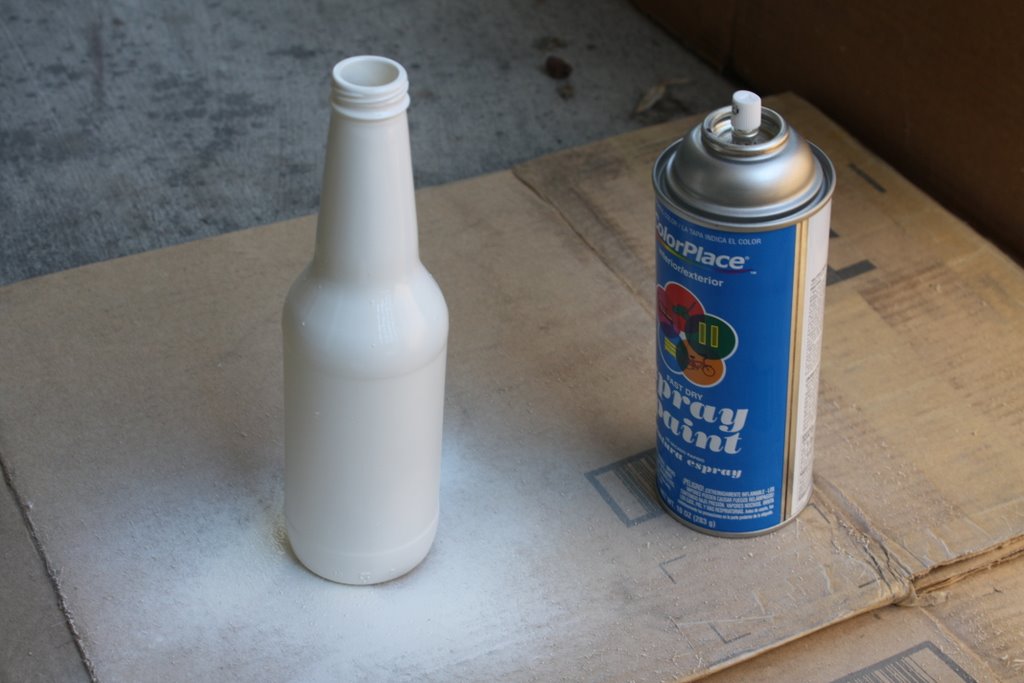
Materials: glass bottles, spray paint, puffy paint, and a paint brush
Tip: Soak the glass bottles in warm water to help remove the labels.  If you are planning on making a completely textured vase, you don't need to be as meticulous in removing the adhesive since it will all be covered.

The Original Vase-- This is the idea I first saw, from which the other vase ideas came about.

1.  Spray paint the entire bottle with your desired color.  It is better to spray on layers rather than a thick coat to cover the glass.  If you spray the paint too thickly, the paint will run and you won't have a smooth surface.  Give each layer about 4 hours to dry before spraying on the next layer.

2.  Use puffy paint to paint on a dotted pattern.  Allow to dry, and you're done!


Vase Version 2:

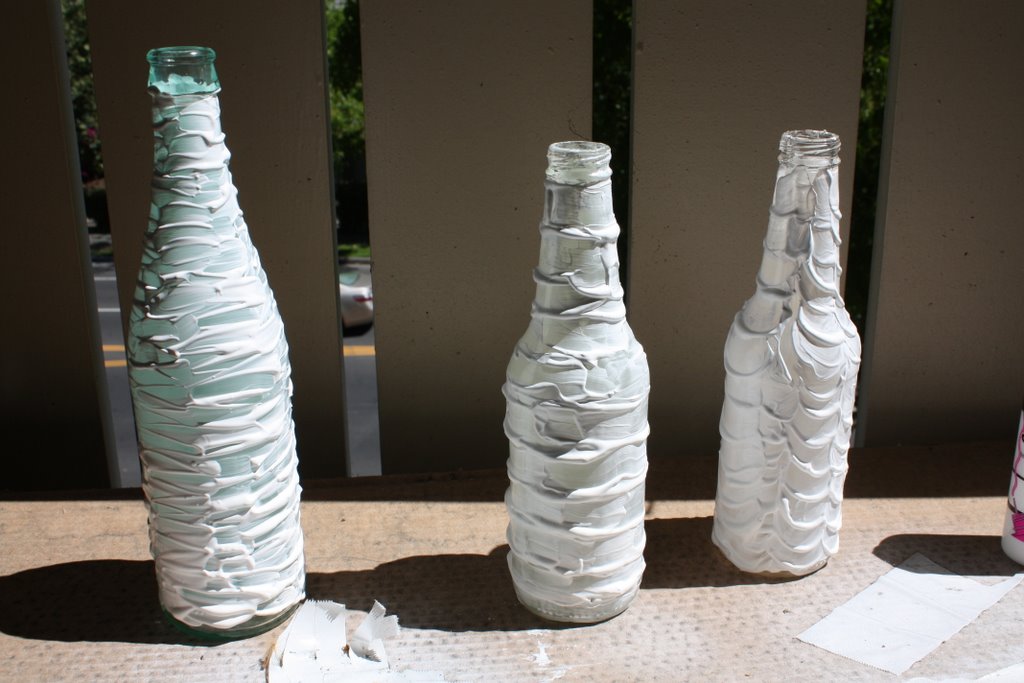
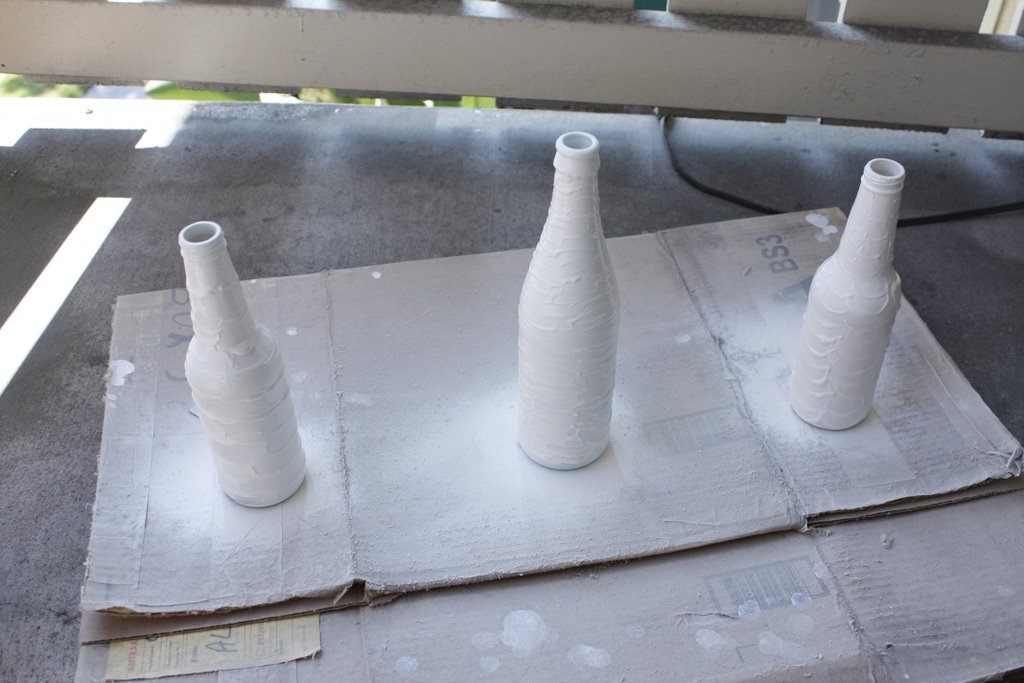
 I wanted to create a texture over the whole vase, so I reversed the steps by applying puffy paint first, and then spray-painting the vase.  The pictures are pretty self explanatory: I used a brush to spread globs of puffy paint all over the glass bottle.  In the other two vases, I experimented with creating other effects such as rings around the vase and a scalloped pattern.


Simple wedding centerpieces: 
Line up rows of vases with a large bloom and you can have an economic and unique centerpiece for your reception:

Have fun!

Tuesday, August 2, 2011

DIY Plastic Canvas Pencil Boxes


I found this really great tutorial on making pencil cases by weaving yarn through a plastic canvas.  I love how there are so many different ways to weave the yarn pattern to create a different look.  Check out Diane Gilleland's free pattern that is very thorough on how to make these cute cases.  (My button is monstrous in comparison to the rest of the case, but I was too lazy to get another one!)

After making this first case, I was inspired to use my leftover plastic canvas and yarn to make another pencil box with the same pattern idea:

Like the above case, the only basic materials needed are yarn, plastic canvas, and a yarn needle.  I actually broke my plastic yarn needle as it was slightly bigger than the holes in the canvas, so I actually bent a paper clip into a makeshift yarn needle and found that it worked out really well.

After weaving a yarn pattern on each piece, sew them together to make a box.  (See Diane Gilleland's tutorial for details on weaving the yarn)

Sew buttons on the side and tie yarn loops on the lid of the box to make "button holes."

And that's it!  Such a simple craft with endless possibilities =)