Wednesday, July 27, 2011

My Depressingly Healthy Lunch


Bleeechhhh.  Rabbit food.  Why is getting older so much harder on the body?  Well, I guess I only have myself to blame for post-marriage, post-injury weight gain, but I am not appreciating this slower metabolism!  I have actually been trying to eat healthier since my exercise ability has been severely limited.  I used to cling to my eat-whatever-you-want-just-work-out plan, but unfortunately that just doesn't work right now, so I've had to resort to dieting.  Results are slow, but there has already been some evidence that it is working!  YAY!

I guess if I was really really hard core, I would also not be eating the bread with my salad (don't worry, I didn't butter it!), but I don't think I'm ready to sacrifice all carbs just yet!

I just had to complain somewhere about eating salads.  And maybe brag, too.  Once it pays off.  =)

Wednesday, July 20, 2011

DIY Beaded Candle Holders


After last week's post, my head kept swimming with more thoughts of beads and tassels.  So to get it all out of my system, I've also added beads to candle holders--one by adding a beaded fringe to a ribbon, the second by stringing beaded tassels onto a ribbon.  I love the clunky shiny beads and if I really wanted to make something shiny, I would have invested in some sparkly Swarovski crystal beads (alas, they are a bit more expensive than I was willing to pay just for a project).  Candles are a great alternative to flowers for wedding centerpieces--they're inexpensive and add a romantic glow to your reception hall.  You can fill a table with candles of various sizes and in different holders, but still achieve a uniform look.

How to add a beaded fringe to a ribbon:
Materials: assorted beads, beading thread and string, ribbon, candle holder, hot glue gun (not pictured)

Step 1: Thread needle with string and tie a knot at the end.  Make the first stitch at one end of the ribbon from back to front so that the knot is on the wrong side.

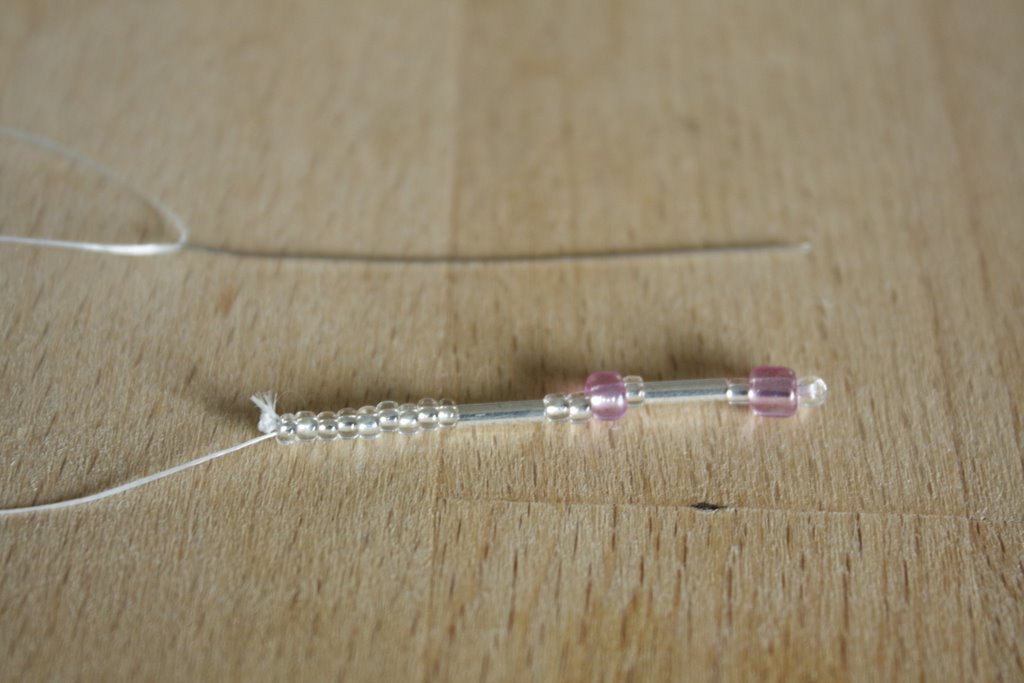
Step 2: Thread through your desired bead pattern.

Step 3: Skipping the last bead, thread your needle back up the beads.

Step 4: Pull thread all the way through, taking care not to pull too tightly or the beads will bunch up.  Secure the strand by sewing a stitch into the ribbon.

Step 5: Bring needle back up where you want to place the next strand of beads.  Repeat steps 2-4.

Step 6:  Continue until you've covered the whole length of the ribbon.  You can play around with the lengths of the strands to create your desired effect.

Step 7: Using a hot glue gun, glue the ribbon in place around the edge of the candle holder.  If you want to hide your stitches, glue another ribbon on top.

How pretty! =)

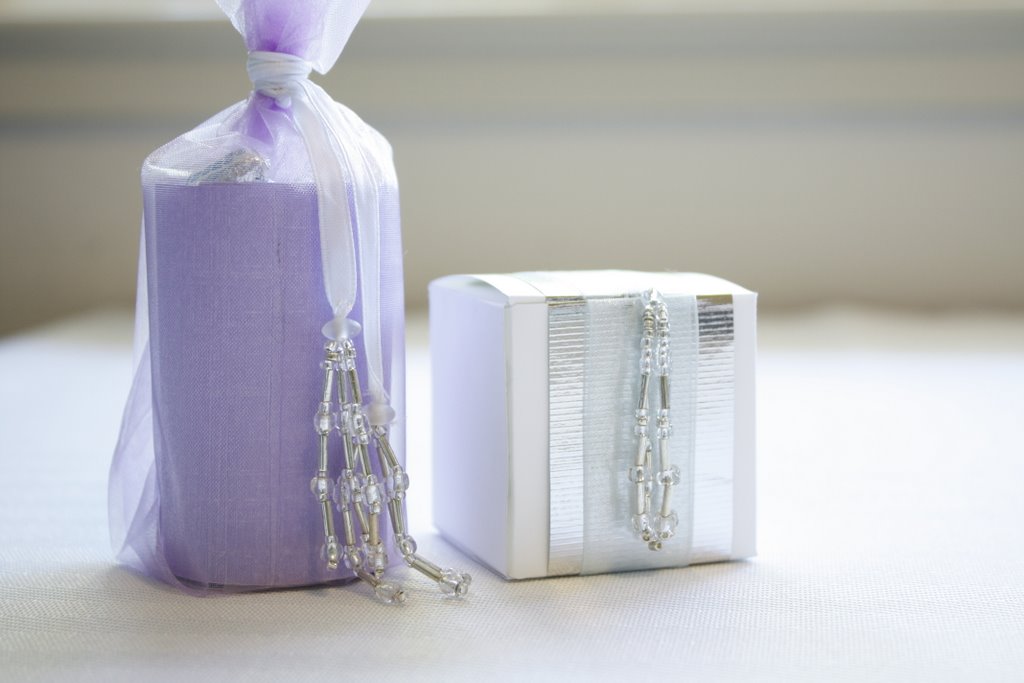
 You can also do the same thing with beaded tassels by stringing them onto a ribbon and hot gluing it around the edge of a candle holder:
This method can be a little more time consuming depending on your tassel design, but I like the idea that I can take the tassels off and reuse them again in various projects.

 I photographed the candles in broad daylight to show the colors and details--and since it doesn't seem natural to have a bunch of candles sitting around on a balcony, here are the candles in action!

Beaded Candle Holder 
Beaded Candle Holder

Have fun!

Friday, July 15, 2011

DIY Beaded Tassel Wedding Favors


After learning how to make beaded tassels a little while ago, I've been looking for excuses to make them because they are so fun and sparkly!  The basic tassel is very easy to make, and you can make endless variations by changing bead colors, bead sizes, bead patterns, length of the tassel, etc.  A beaded tassel can instantly add a little sparkle to your wedding favors.

The How-To:
Materials: assorted beads, beading needles, and beading thread

Step 1: Thread your needle and make a thick knot at the end (it needs to be big enough that it won't slip through the bead).  String your desired bead pattern for one part of the tassel.

Step 2: Skip the last bead and thread the needle back up all the beads.

Step 3:  Pull thread through.  You now have one length of your tassel.  Be sure not to pull your thread too tightly, or else the bead will bunch up and not dangle in a straight line.

Step 4: Repeat the process (thread a length of beads, skip the last one, and thread back up the same beads) for as many lengths you want for your tassel.

Step 5: Thread the needle through your starting knot to bring the tassel together.  Thread through a number of beads (I use a large one and 10 seed beads) to make the top of the tassel.

Step 6: Thread the needle through the large bead, creating a loop at the top of the tassel.  Knot your thread and tuck in loose ends.

The loop at the top makes the tassel very versatile and easy to attach by sewing or stringing on a ribbon.  Here's two ways you can use beaded tassels on your wedding favors:

Beaded Tassel Wedding Favor Box
I was inspired by the tassel box favor by Martha Stewart Weddings.  I wrapped the favor box with a narrow strip of silver wrapping paper and a sheer blue ribbon.  Then I poked the top of the tassel through a hole punched through the top of the box.

Beaded Tassel Ribbon


You can also add beaded tassels to the ends of a ribbon that is tied around a favor bag or pouch.  Instead of making a loop at the top of the tassel, sew the tassel directly to the end of the ribbon:


String a large bead onto the ribbon to make the top of the tassel and to hide your stitches:


Have Fun!

Tuesday, July 12, 2011

My Favorite Things: Plaid


I'm still a rebellious teenager at heart--and I'm totally obsessed with all things plaid right now.  Am I too old to be shopping at Hollister?  Probably, but at $15 these shirts were a great deal and I couldn't resist!

Friday, July 8, 2011

DIY Signature wedding cocktails

A signature wedding cocktail is another fun way to personalize your wedding.  You can complement your wedding colors or even your wedding theme with your cocktail, or share a special drink that you as a couple enjoy.  As a bonus, print the cocktail recipe on a coaster or card for guests to take home and recreate themselves.
Many couples consider providing signature cocktails as a cost-cutting measure--you can choose to serve your signature cocktails, beer, and wine instead of an open bar.  As you look for a signature cocktail, make sure to take note of what ingredients may or may not be in season.  Beautiful summer berries from the local farmer's markets can be a delicious and economical resource.  Try this cocktail created by Hennessy, which uses fresh blueberries in a refreshing and colorful cocktail.

HENNESSY BLACK AND SOMETHING BLUE
1 oz Hennessy Black
5 fresh blueberries
2 lemon wedges
1 oz POM Pomegranate Blueberry Juice
3 oz Moet Imperial Champagne
Sugar for rim
Muddle blueberries and lemons in a shaker. Add Hennessy Black, POM Pomegranate Blueberry Juice and ice. Shake and strain into a Sugar rimmed Champagne flute. Top with Moet Champagne.
Recommended Garnish: 3 fresh on a bamboo skewer or toothpick with a lemon twist.
Have fun!

Friday, July 1, 2011