I saw one of my extremely creative and crafty co-workers working on stamping a piece of fabric for a costume. As I watched, my mind started spinning with all the possible projects you could make with a wood stamp. I love how stamping makes something look so original and hand-made. For our wedding, we had wanted to bring in a slightly tropical/beach theme without making it look too casual. I would have loved to have stamped my own fabrics to use as an aisle runner or tablecloths.
Pareos (similar to sarongs) originated from ancient Tahiti and were pieces of fabric that were tied and worn as various clothing pieces. The fabric was often vibrantly colored with a watercolor effect due to salt that was sprinkled on after being dyed. Bark and other natural resources were then used to stamp designs on the fabric.
You can create your own pareo-like fabric by dying and stamping your own fabric. I am very grateful to Louriel for showing me the process!
Materials:
- wooden stick (size depending on how large you want your stamp)
- wood-carving knife
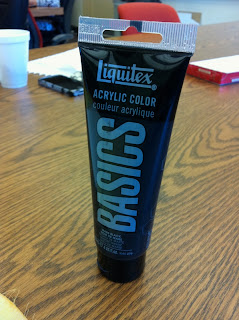
- black acrylic paint
- paintbrush
- fabric
- dye (optional for fabric)
- First, make your wooden stamp. Sketch your design on your piece of wood. Use the wood-carving knife to trace over the lines of your sketch. Continue to carve into the lines until you’ve achieved the desired width for each line. Louriel suggests making a design with straight lines and edges if you are new to wood carving. Create a symmetrical design so that the stamps can connect together in a line, or draw a stand-alone design.
2. (Optional) Dye your fabric if you so choose.
3. Prepare your stamp. You may need to thin your acrylic paint with water before using it on your fabric. Test your stamp a few times before starting with the fabric. Using a paintbrush, brush your wooden stamp with an even coat of paint. Blot the sides of your wooden stamp with a paper towel to avoid stray stamp marks or a stamped box around your design.
4. Stamp! Press your wooden stamp firmly on your fabric to stamp. Then repeat step three again to prepare for the next stamp. If your stamp does not stamp evenly on your fabric, Louriel suggests layering paper or something soft under the fabric so that the fabric picks up all parts of the stamp design. (Again, practice first!)
Voila! Thanks Louriel! =)


No comments:
Post a Comment